Every hockey parent eventually opens the bag and realizes airflow has lost the argument. The good news is that getting the gear under control does not require a laboratory, a pressure washer or a ceremonial burning of the gloves. It needs a repeatable post-practice routine, a little mild soap and enough patience to read the labels before pressing buttons.
The short answer before the bag gets any stronger
Take everything out after every practice or game and let it air. Try to grab the base layer, socks and other next-to-skin clothing for the wash, following their labels. Save the big protective-gear clean for the day it actually needs it and you are feeling heroic. When that day arrives, hand-clean protective pads with mild soap and warm water unless the manufacturer specifically allows a machine cycle. Wipe helmets and skates by hand, then let every piece dry completely with plenty of moving air.
That is the whole system. The rest of this guide simply keeps one enthusiastic laundry decision from turning a shoulder pad, skate or certified helmet into an expensive lesson.
Start with the ten-minute after-practice reset
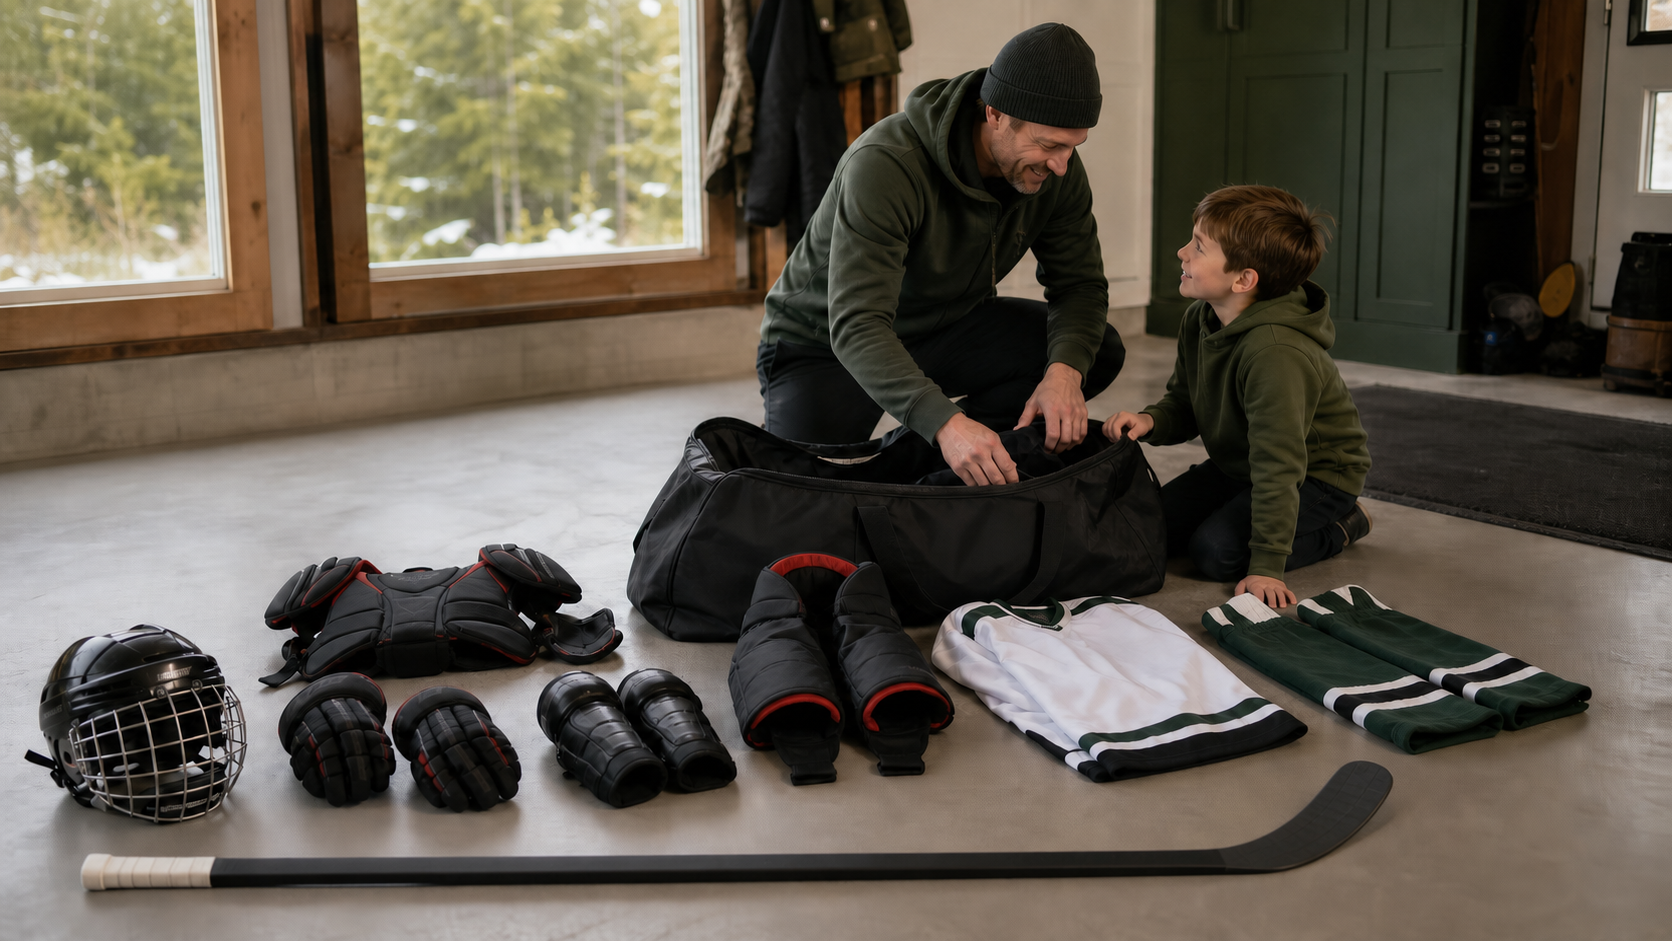
The best cleaning routine starts before anything smells truly ambitious. As soon as you get home, unzip the bag and remove every piece. Pull out base layers and socks, open the straps on the pads, loosen the skates and take the soakers off the blades. Wipe the steel dry with a towel.
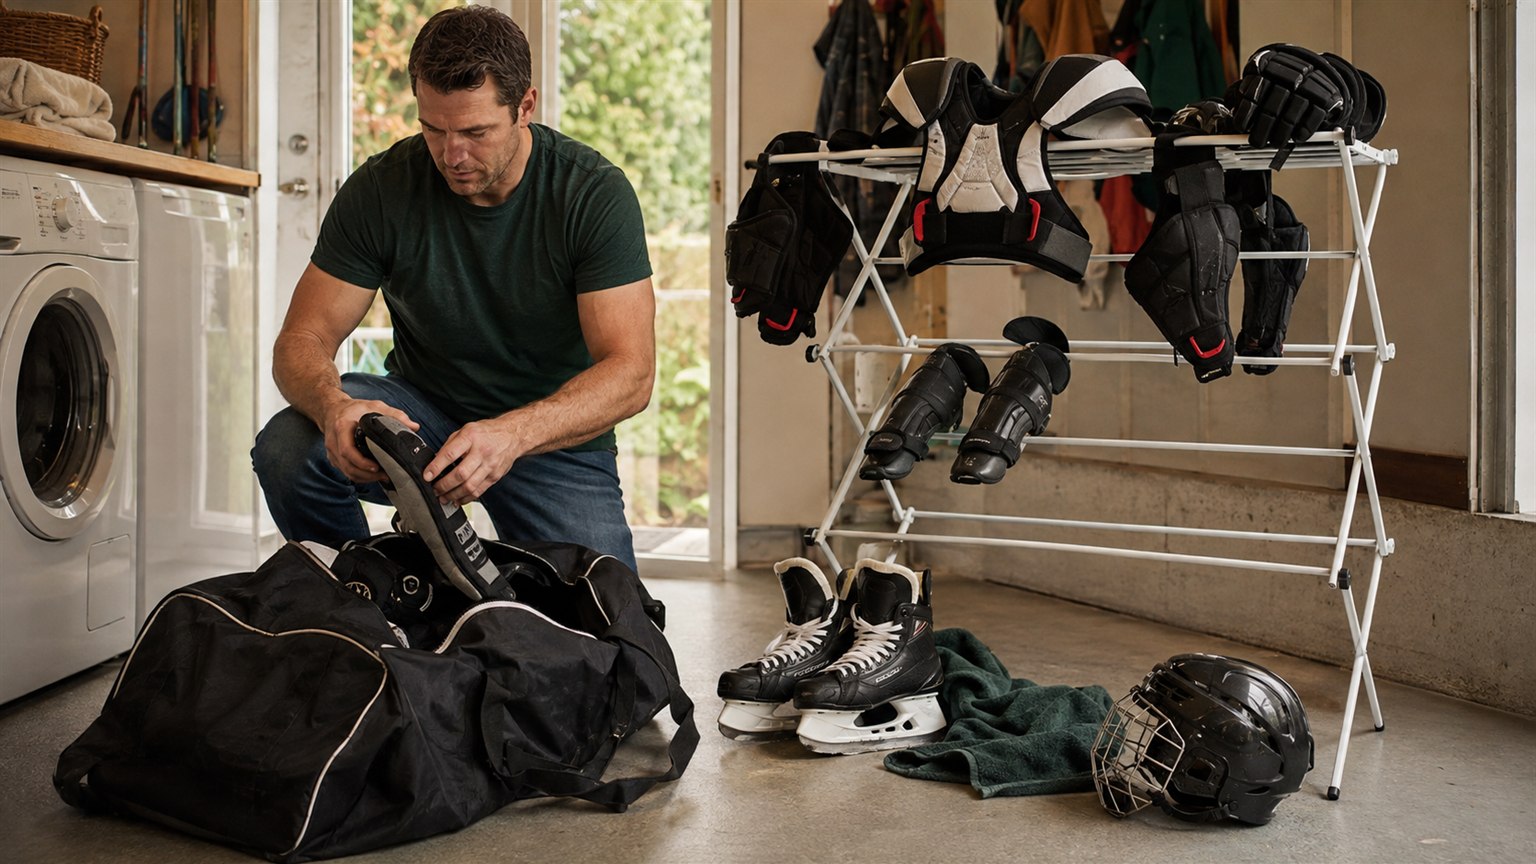
Space the equipment so pieces are not stacked together. A fan pointed across the setup moves damp air away and is useful during wet West Coast winters when the garage has all the ventilation of a cooler. Hockey Canada recommends hanging equipment to dry immediately after every game and practice; consistency here does more work than an occasional heroic deep clean.
If the floor has become a permanent equipment puzzle, compare the practical setups in our hockey gear drying-rack guide. A rack is helpful, but the actual magic remains taking the gear out of the bag and giving each piece room to breathe.
Make three piles before you wash anything
Sort the gear into three groups: washable clothing, protective equipment and hand-clean-only pieces. This takes two minutes and prevents the helmet from joining the base layers because somebody was moving quickly.
Washable clothing usually includes the items that touch skin directly: base layers, athletic underwear, skate socks, jerseys and hockey socks. Check every label for water temperature, cycle and drying directions. Fasten hook-and-loop tabs, close zippers and use a mesh wash bag for small pieces when their labels allow machine washing.
Protective equipment includes shoulder pads, elbow pads, shin pads, pants and gloves. Bauer's current protective-equipment instructions call for drying after use and, as needed, hand-washing with mild soap and warm water. Other brands and models may differ, which is why the care tag gets the final vote.
Start with the base layer and save the heroic wash for later
After each skate, try to get the base layer, socks and other clothing that sits against the skin into the wash. Those pieces collect the first round of sweat, so keeping them clean does a lot of the practical work without turning every game night into a full equipment-cleaning operation.
The shoulder pads, shin pads, pants and gloves do not need a ceremonial scrub after every game. Air them properly each time, then save the big clean for when they need it and you are feeling heroic. Use the label's directions, a modest amount of suitable detergent on machine-washable clothing and an extra rinse if soap tends to linger in technical fabric.
Skip fabric softener unless the manufacturer allows it; it can leave a coating on some moisture-wicking materials. Hockey Canada's 2026 Esso Fun Day manual also says not to use bleach when cleaning program equipment. Hang items promptly after the cycle rather than leaving them in the washer until they develop their own second intermission.
If a neck guard or base layer contains cut-resistant material, follow its exact product instructions. Do not assume it belongs in the same hot cycle as ordinary household towels.
Hand-clean pads and gloves without starting a foam experiment
For shoulder pads, elbow pads, shin pads, pants and gloves, begin by checking the label and removing only the liners the instructions say are removable. Brush or wipe away loose dirt. Then use a cloth or soft brush with mild soap and warm water, working on the fabric lining and the areas that stay damp longest.
Rinse or wipe away soap as the instructions direct. Do not twist padded pieces like a dish rag, and do not put them through a machine simply because they fit through the door. Straps, foams, adhesives and protective shells vary by model.
Press excess moisture with a clean towel, reopen every strap and arrange the equipment so air reaches the inside surfaces. Gloves deserve extra space around the palms and cuffs. They are usually the last item to surrender and the first one a child notices when they are still damp.
Keep the helmet out of the tub
A hockey helmet is protective equipment with model-specific instructions, not a bucket with a cage attached. Do not soak it, machine-wash it or spray it with a random household chemical. Bauer's current RE-AKT 70 manual, for example, says to clean with a damp cloth and mild soap such as dishwashing soap, wipe with a clean dry cloth and dry after each use.
Wipe the shell, accessible liner surfaces, chin cup and cage carefully without removing certification or warning labels. Do not paint, drill, alter or apply cleaners, adhesives or anti-fog products unless the helmet manufacturer approves them for that exact helmet.
While cleaning, inspect the shell, foam, attachments, cage, screws and straps. A cracked or deformed shell, damaged liner or missing attachment is a replacement or qualified-retailer question—not something to hide under more tape.
Skates get a wipe-down, not a wash cycle
Keep skates out of the washing machine and soaking water. After every use, remove the soakers, dry the steel and holder, loosen the laces and open the tongue so air can reach the boot. Remove the footbeds only when the skate instructions allow it, then dry them separately.
Wipe the outside and accessible interior with a lightly damp cloth and mild soap if permitted, then wipe clean. Let the skates dry at room temperature with moving air and away from direct heaters. Hockey Canada specifically warns that direct heat can crack leather equipment, and high heat is a poor gamble with modern boots, adhesives and shaped materials too.
Once everything is dry, check the steel for rust, the holder for damage and the boot for loose parts or separation. Then return dry soakers to the blades for travel. Our parent guide to youth hockey skate sharpening explains the three-to-five-skate rhythm we use and the signs that mean sharpening sooner.
Yes, the hockey bag is part of the hockey gear
The bag spends the season collecting damp straps, tape scraps and whatever fell out of a rink snack. Empty every pocket, vacuum or shake out the debris and clean the bag according to its label. Many bags are best wiped or hand-washed rather than forced into a household machine.
Open every zipper and let the bag dry completely before repacking. If it has a removable washable liner, clean that separately as directed. The bag does not need to smell like a mountain meadow. It just needs to stop reintroducing yesterday to freshly cleaned equipment.
When the smell survives the first round
Repeat the basics before escalating: mild cleaning that matches the label, a thorough rinse or wipe and complete drying with moving air. Heavy fragrance can cover an odour without removing the moisture or residue causing it.
For equipment that still smells after proper cleaning, ask the manufacturer or a reputable hockey shop about an approved product or professional equipment-cleaning service. Hockey Canada notes that regular cleaning can happen at home or through professional services and recommends professional cleaning periodically.
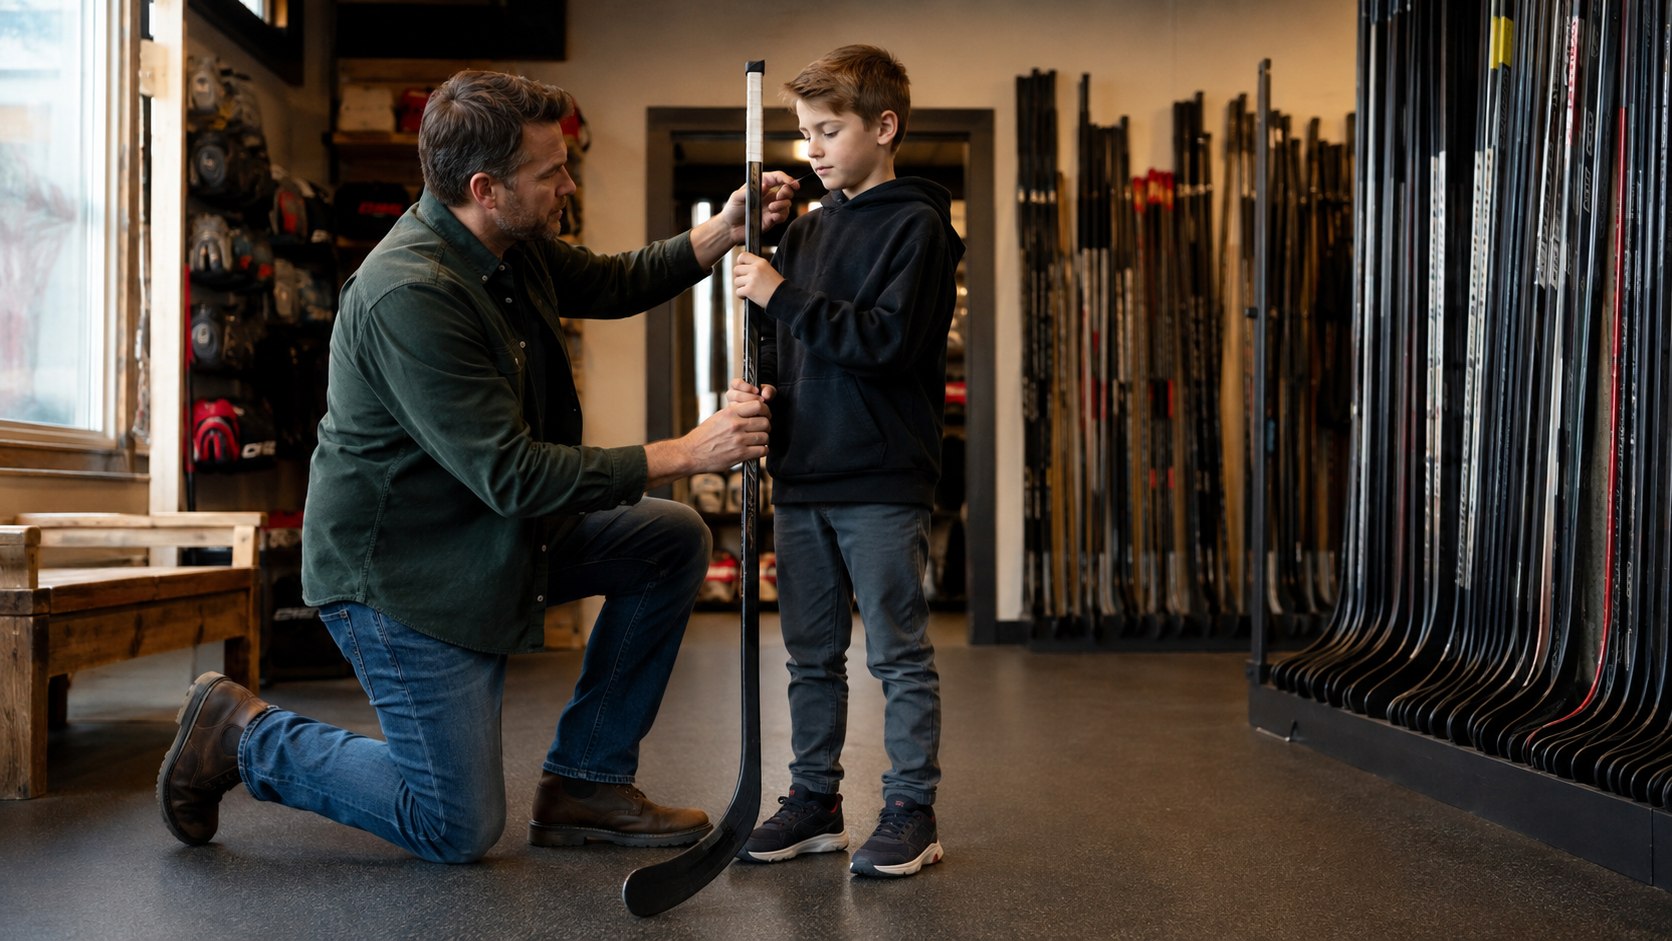
If the problem is damaged foam, cracked plastic, torn fasteners that no longer hold or a liner that is breaking down, cleaning is not the answer. Use our youth hockey equipment checklist to check fit and condition, and our youth hockey stick guide when the next replacement happens to be the long carbon-fibre item that refuses to fit in the car. If several pieces are aging together, our youth hockey cost guide helps put those replacements inside the full season budget.
Repack only when everything is actually dry
Touch the inside surfaces, glove palms, skate tongues and removable liners before the gear goes back in the bag. If they still feel cool and damp, give them more time and airflow. Packing early resets the whole problem.
Once dry, return each piece to the same place in the bag. Clean the water bottle after practice, let it dry and put it back in its normal pocket so it is not left behind. The routine should be boring enough that anyone in the family can do it—which is how it survives a busy week.
Save or print
The hockey-gear wash-day checklist
- Read the care label or product manual for every piece
- Separate washable clothing, protective pads and hand-clean-only gear
- Fasten hook-and-loop tabs and close zippers before washing permitted items
- Use mild soap or detergent and warm water only where instructions allow
- Keep the helmet and skates out of the washing machine and soaking water
- Never use bleach or an unapproved chemical on protective equipment
- Avoid direct heaters and high heat
- Open straps, tongues, cuffs and removable liners for airflow
- Use a fan to move air across the gear
- Inspect shells, foam, straps, cages, holders and steel while cleaning
- Replace damaged protective gear rather than trying to wash the damage away
- Repack only when every piece is fully dry