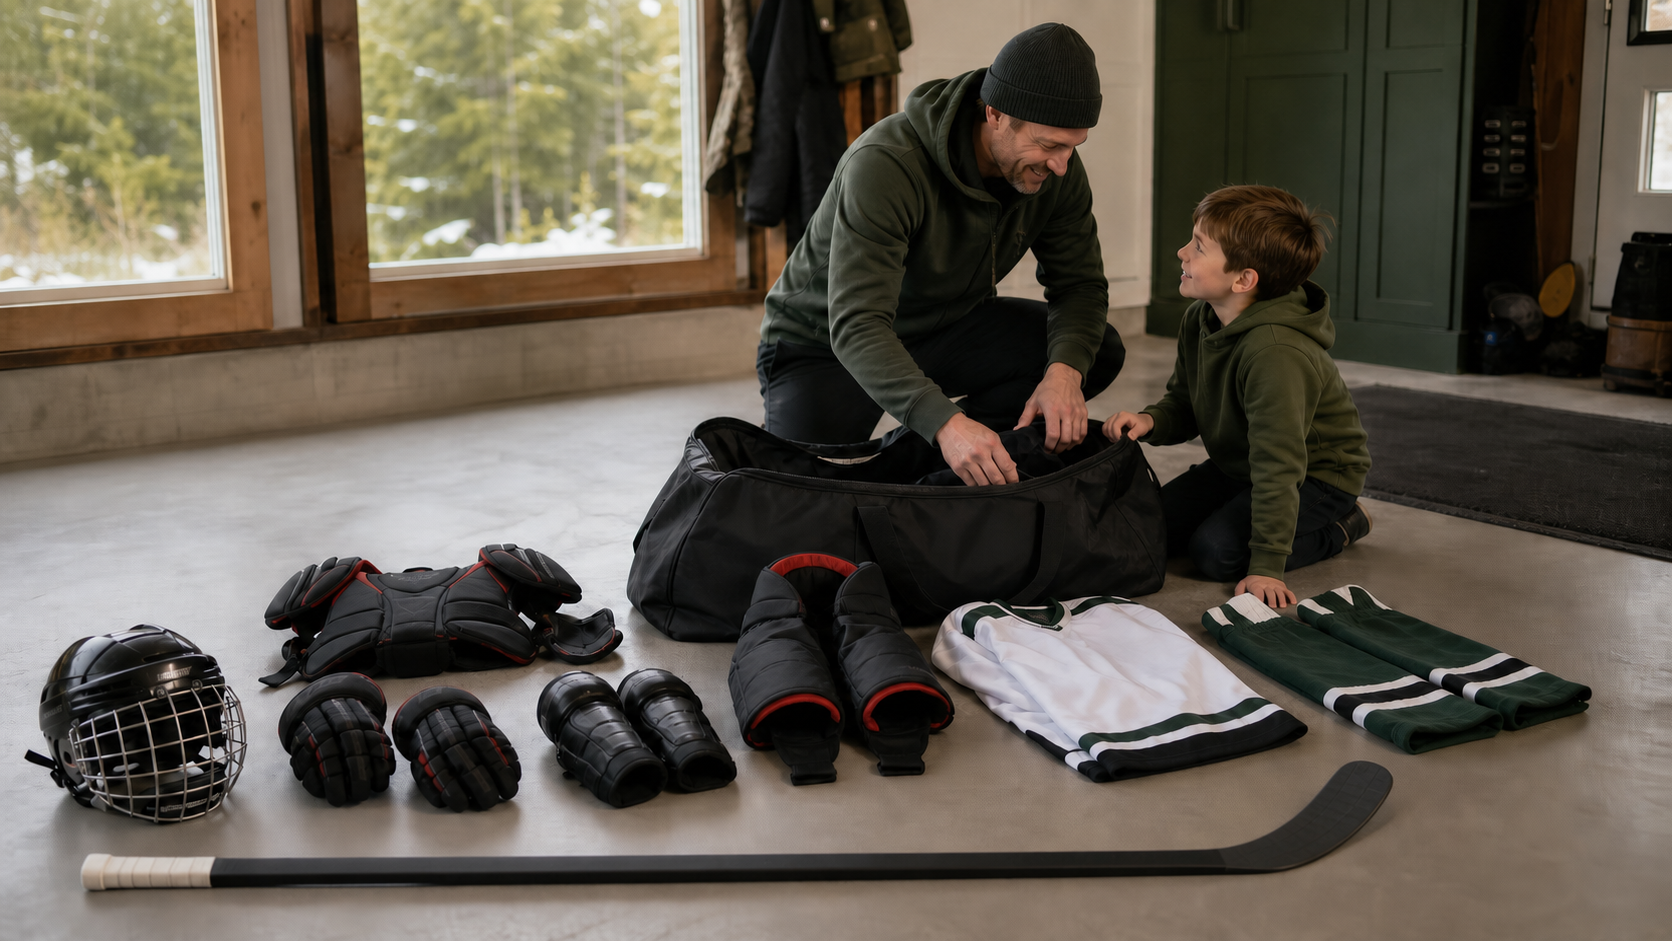
Your child says everything fits. Meanwhile, the shoulder pads are touching their ears, one shin pad is rotating toward the parking lot and the skates appear to have been purchased with enough growing room for university. Before you accept the official dressing-room report, spend ten minutes checking the full set together.
Start with the ten-minute kitchen-floor fit test
Put on the base layer and every protective piece in normal dressing-room order. The equipment needs to work as one connected system, not as ten unrelated things that looked about right on a shelf.
Have the player squat, reach overhead, bend both elbows, twist at the waist, take a knee and hold their stick. Pads should stay centred, neighbouring pieces should overlap and nothing should pinch hard enough to change how the child moves.
If you are also checking whether every required piece made it into the bag, keep our youth hockey equipment checklist open beside this guide.
Helmet: snug, level and finished with the eyebrow shuffle
A youth hockey helmet should sit level on the head and feel snug all the way around. It should not rock forward when the child looks down or slide backward when the cage is lifted. The chin belongs comfortably in the chin cup, and the cage, clips, straps and screws should all be present and compatible.
Do the gentle eyebrow test: hold the helmet and move it slightly. The skin and eyebrows should move with it instead of the helmet skating around on the head. Hair, head shape and model design all change the fit, which is why measuring the head only gets you to a starting size.
For a visual walk-through of every piece, bookmark the Hockey Canada equipment-fitting hub. If the helmet shifts, hurts or needs improvised parts, take it to a qualified fitter before the next ice time.
Shoulder and elbow pads: coverage without the football costume
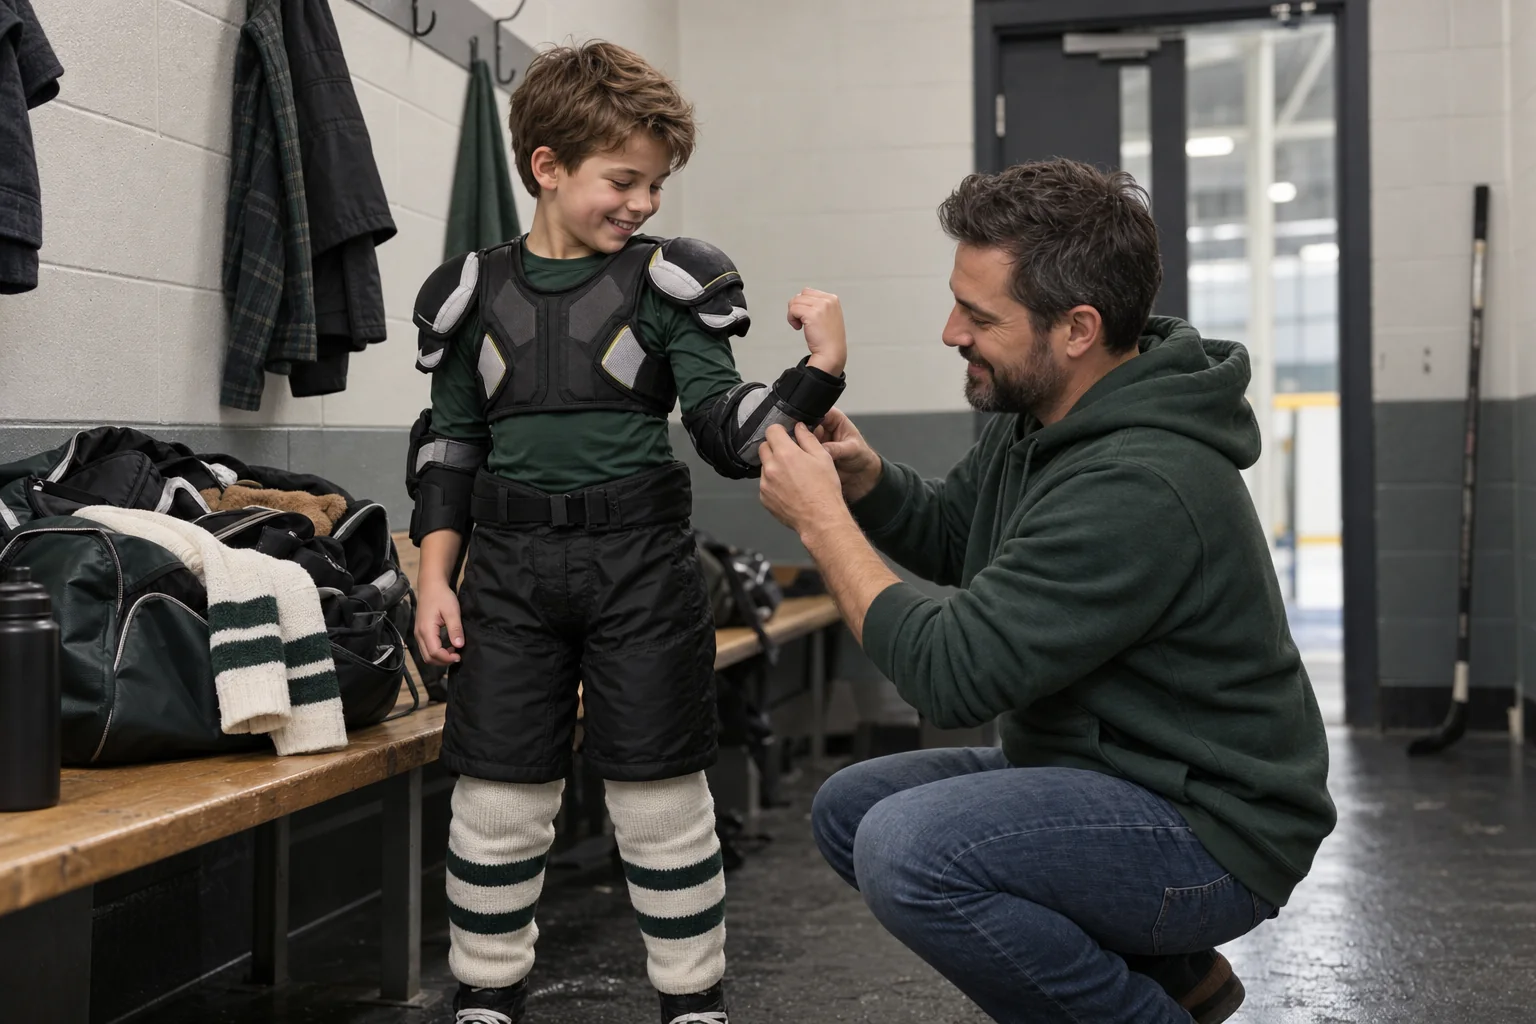
The shoulder caps should sit over the points of the shoulders, with the chest and back panels lying flat rather than floating several centimetres away from the body. The player should be able to lift both arms and rotate without the whole unit climbing toward the ears.
Centre each elbow in its cup, fasten the straps snugly and have the player bend and straighten the arm several times. The pad should stay on the elbow instead of migrating toward the wrist. The upper edge should meet the shoulder-pad extension and the lower edge should meet the glove cuff when the player holds a stick.
A small overlap is what you want. A visible strip of unprotected forearm or upper arm means the pieces are too short, too small or sitting in the wrong place. Huge pads that spin around are not extra protection; they are protective equipment taking a day off.
Gloves: fingers close to the end, wrists still covered
The fingertips should come close to the ends without being jammed against them. The thumb should sit properly in its channel and the player should be able to open the hand, close it around the stick and move both wrists.
With the elbows bent in a normal playing position, the glove cuff and elbow pad should cover the wrist between them. If the gloves fall off when the arms hang down, or the child cannot feel the stick because there is a spare bedroom at the end of every finger, go smaller.
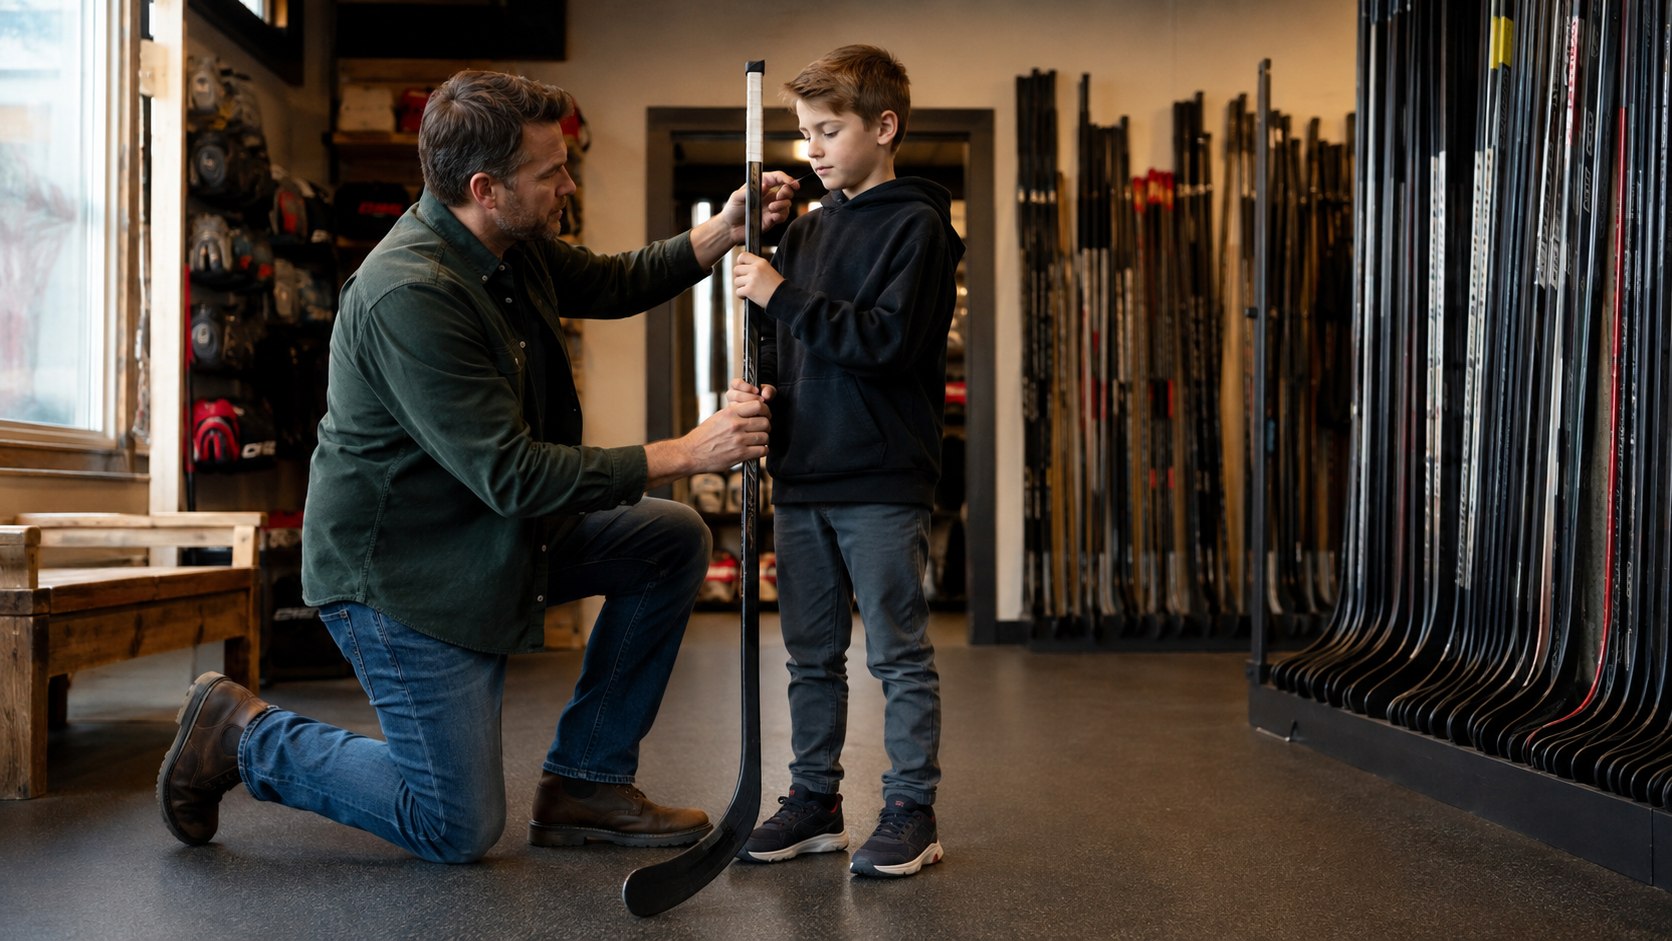
Stick length, flex and handedness are their own shopping adventure. Our parent-friendly youth hockey stick guide keeps that part simple.
Hockey pants: hips and kidneys covered, legs still free
Hockey pants should sit securely at the waist and cover the hips, tailbone and kidney area. The legs should reach the top of the shin pads when the player is standing and continue to overlap when they squat.
Have the child take a deep squat and then stand without pulling the pants back into position. If the pants drop, twist or need the belt pulled to its absolute limit, the size is wrong. Suspenders can help a correctly sized pair stay comfortable; they should not be a rescue system for pants borrowed from a much larger cousin.
Buying for a fast-growing player is where fit and budget start arguing. The North Peak Life youth hockey cost guide explains where used gear and planned replacements can save money without making every piece oversized.
Shin pads: knees centred and no turning toward the parking lot
Place the knee in the centre of the knee cap and fasten the calf straps so the pad stays facing forward. The lower edge should meet the skate tongue without leaving a large gap or pressing so far down that the player cannot flex the ankle.
Some players wear the shin pad over the skate tongue and others tuck the tongue. Either can work when the coverage is continuous and movement is comfortable. Check the fit in the same setup the child actually uses on the ice.
Have the player walk, squat and kneel. If the knee slips below the cup or the pad spins sideways, fix the strap position or change the size. Clear tape may hold a properly fitted pad in place; it should not be doing the entire job by itself.
Skates: snug heels, comfortable toes and no university plan
A hockey skate should hold the heel comfortably in place and feel snug around the foot without painful pressure. When the player stands upright, the toes may lightly brush the front; when they bend the knees into a skating stance, the toes should ease back slightly.
Open the laces fully before putting the foot in, seat the heel and tighten each section evenly. Watch the child walk and bend both knees. Heel lift, side-to-side movement and toes curled hard against the front are better clues than the shoe size printed on the box.
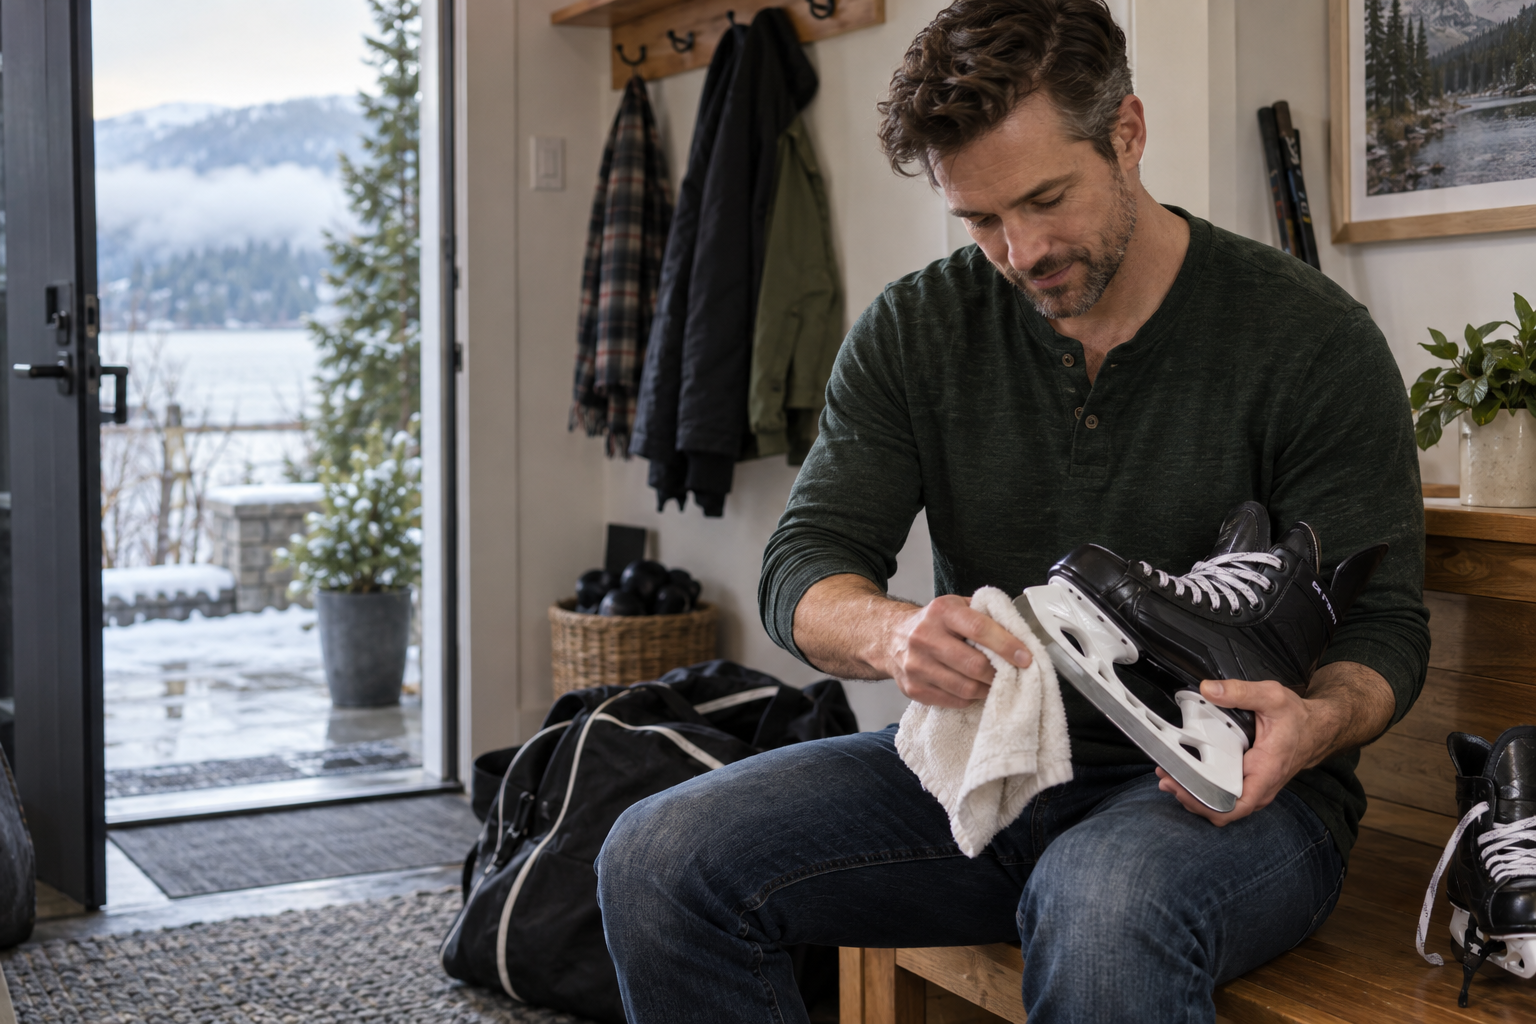
Once the fit is right, keep the steel predictable with our kids’ hockey skate-sharpening routine. A fresh edge cannot fix a skate that is two sizes too large.
Neck guard, base layer and socks: boring until one goes missing
The neck guard should be the correct size, sit as designed and remain fastened through normal head and shoulder movement. Use equipment that meets your association's current requirements and replace pieces that are damaged or altered.
The base layer should fit close enough that it does not bunch under pads. Hockey socks need enough length to cover the shin pads and attach securely without pulling the knee out of position. Smooth ordinary skate socks matter too; folds inside a snug skate become a very large topic about six minutes into practice.
Dress in normal order during the test. A piece that fits over a T-shirt may behave differently once the real base layer, shoulder pads and elbow pads are all together.
How much growing room is reasonable?
Look for adjustment range, not empty space. A good purchase fits securely today with straps, extensions or closures that still have room for modest growth. You should not need to tighten every strap to its shortest setting just to stop the equipment from moving.
Buying several sizes up may feel thrifty at checkout, but it can create gaps, sliding pads and restricted movement for most of the season. Kids also outgrow pieces at different speeds. It is normal to replace pants or skates while the shoulder pads still fit.
Write the player's current sizes inside your phone and note which adjustment settings still have room. That makes the mid-season growth spurt easier to spot and makes used-equipment shopping much less mysterious.
New, used or fitted in store? Spend attention before money
Used shoulder pads, elbow pads, pants, shin pads, gloves and bags can be excellent value when the gear is clean, undamaged and still fits correctly. Check shells, padding, seams, straps, fasteners and any spot that looks compressed, cracked or altered.
Be more cautious with helmets and skates. A helmet needs the right current certification, complete hardware and the right shape for that child's head. A skate needs the right length, width, heel hold and condition. If you cannot confidently judge those things, an in-person fit is worth the trip.
Canadian parents can compare youth protective equipment at Pro Hockey Life, use the parent resources and local fitting help at Source for Sports, or check the current hockey sizing charts at Sport Chek. Try the gear on whenever possible; the size label is a starting point, not a verdict.
The five-minute fit check during the season
Once a month—and any time the player shoots up in height—repeat the squat, reach, bend and twist test. Look for pants creeping above the shin pads, elbow pads leaving new gaps, shoulder caps sitting too high, gloves becoming short and skates suddenly feeling cramped.
Ask one useful question: what feels different? Kids will often mention a tight toe, a slipping elbow or a strap that hurts long before the problem is obvious from the bench. Fixing one adjustment now is easier than replacing the wrong item during tournament weekend.
While the full set is out, check condition and give damp equipment the same reset described in our hockey gear washing and drying guide. Fit, condition and a repeatable routine do more for a young player than chasing the most expensive product line.
Save or print
The head-to-toe youth hockey fit check
- Helmet sits level and snug with very little movement
- Chin sits properly in the cup; cage and straps fasten correctly
- Shoulder caps are centred and chest and back panels lie flat
- Elbows stay centred in their cups through repeated bending
- Shoulder pads, elbow pads and gloves overlap without large gaps
- Fingertips sit close to the glove ends and the player can grip the stick
- Hockey pants stay at the waist and overlap the tops of the shin pads
- Knees stay centred in the shin-pad cups and pads face forward
- Shin pads meet the skate tongue without blocking ankle movement
- Skate heels stay seated and toes are comfortable in a skating stance
- Neck guard and base layer sit smoothly and meet current team requirements
- Player can squat, reach, twist, kneel and hold a stick without gear shifting