A backyard hockey setup can be a great investment. It can also become a very expensive monument to the three motivated afternoons your child had in October. The goal is not to build a private development centre on day one. It is to make ten useful minutes with a puck so easy—and fun—that your kid wants to do it again tomorrow.
Start with the part nobody wants to shop for: the space
Before the net, tiles or clever passing gadget, stand where your child will shoot and look beyond the target. Windows, cars, neighbours, pets and people should not be part of the drill. A wide backstop or properly positioned containment net is often the first serious upgrade because most children miss the net far more enthusiastically than adults remember.
Use a flat, clear surface with enough room for the player to move naturally. Follow the current setup and anchoring instructions for every net, tarp or rebounder, and supervise younger children. That is the whole safety lecture. The family minivan will thank you.
Build it in this order
- A safe shooting lane and reliable protection behind the target
- A smooth pad or tile surface that keeps the stick blade off rough concrete
- A net or shooting tarp that suits the available space
- A small bucket of regular or suitable off-ice pucks
- Targets or a rebounder only after the basic setup is getting regular use
Three sensible levels of backyard setup
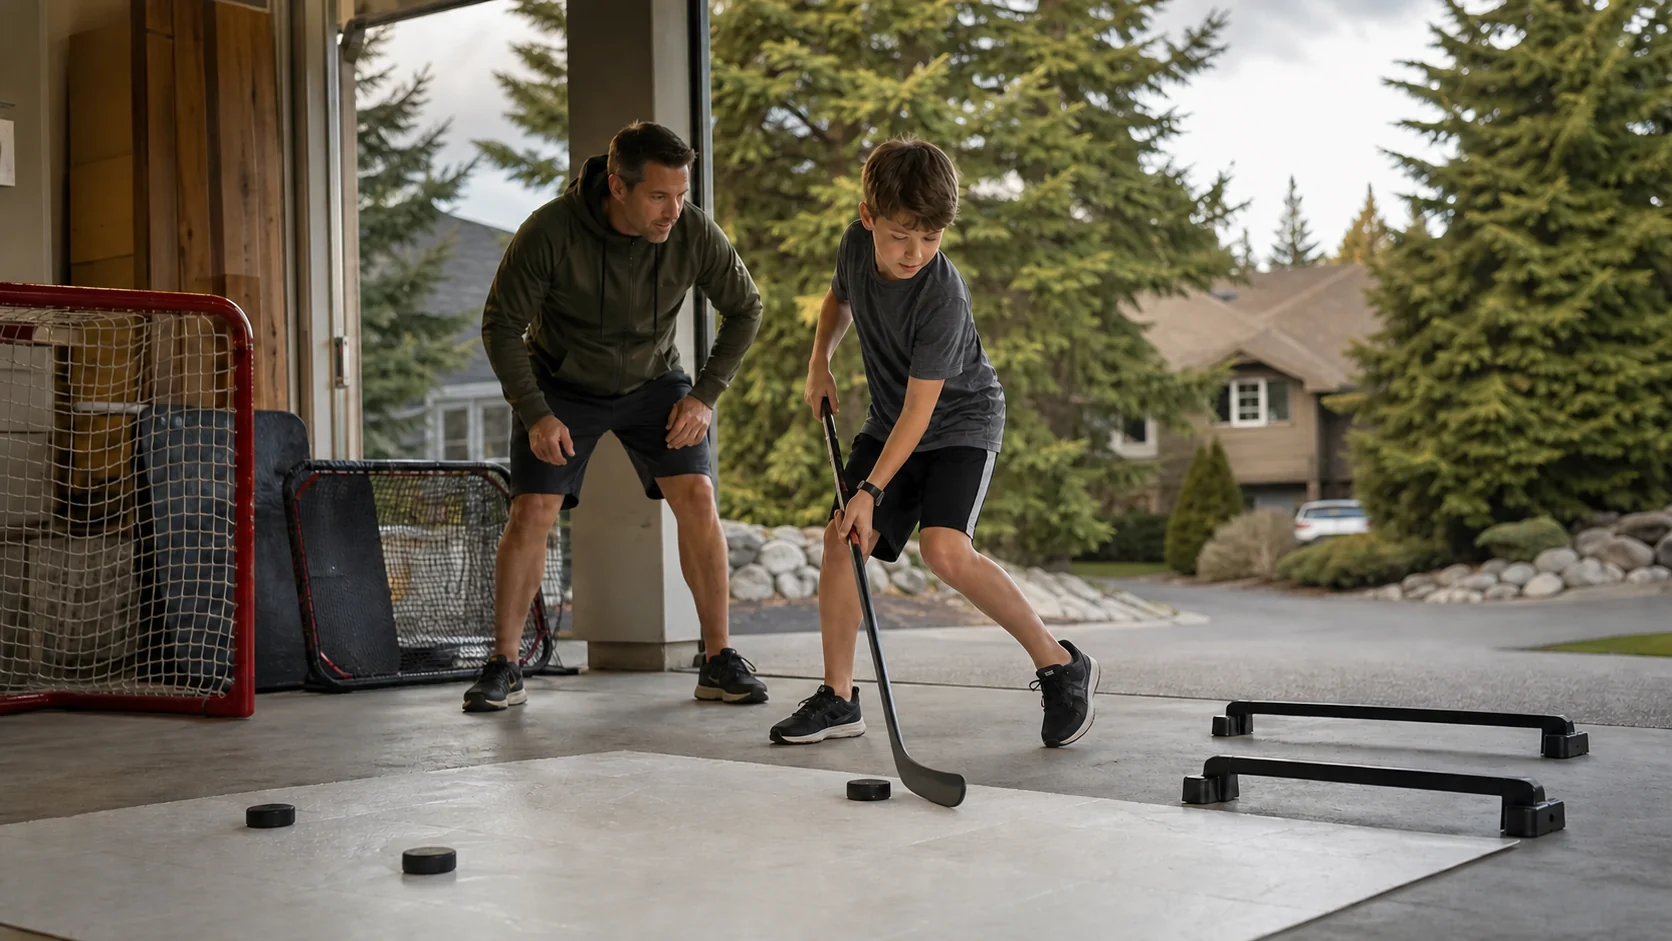
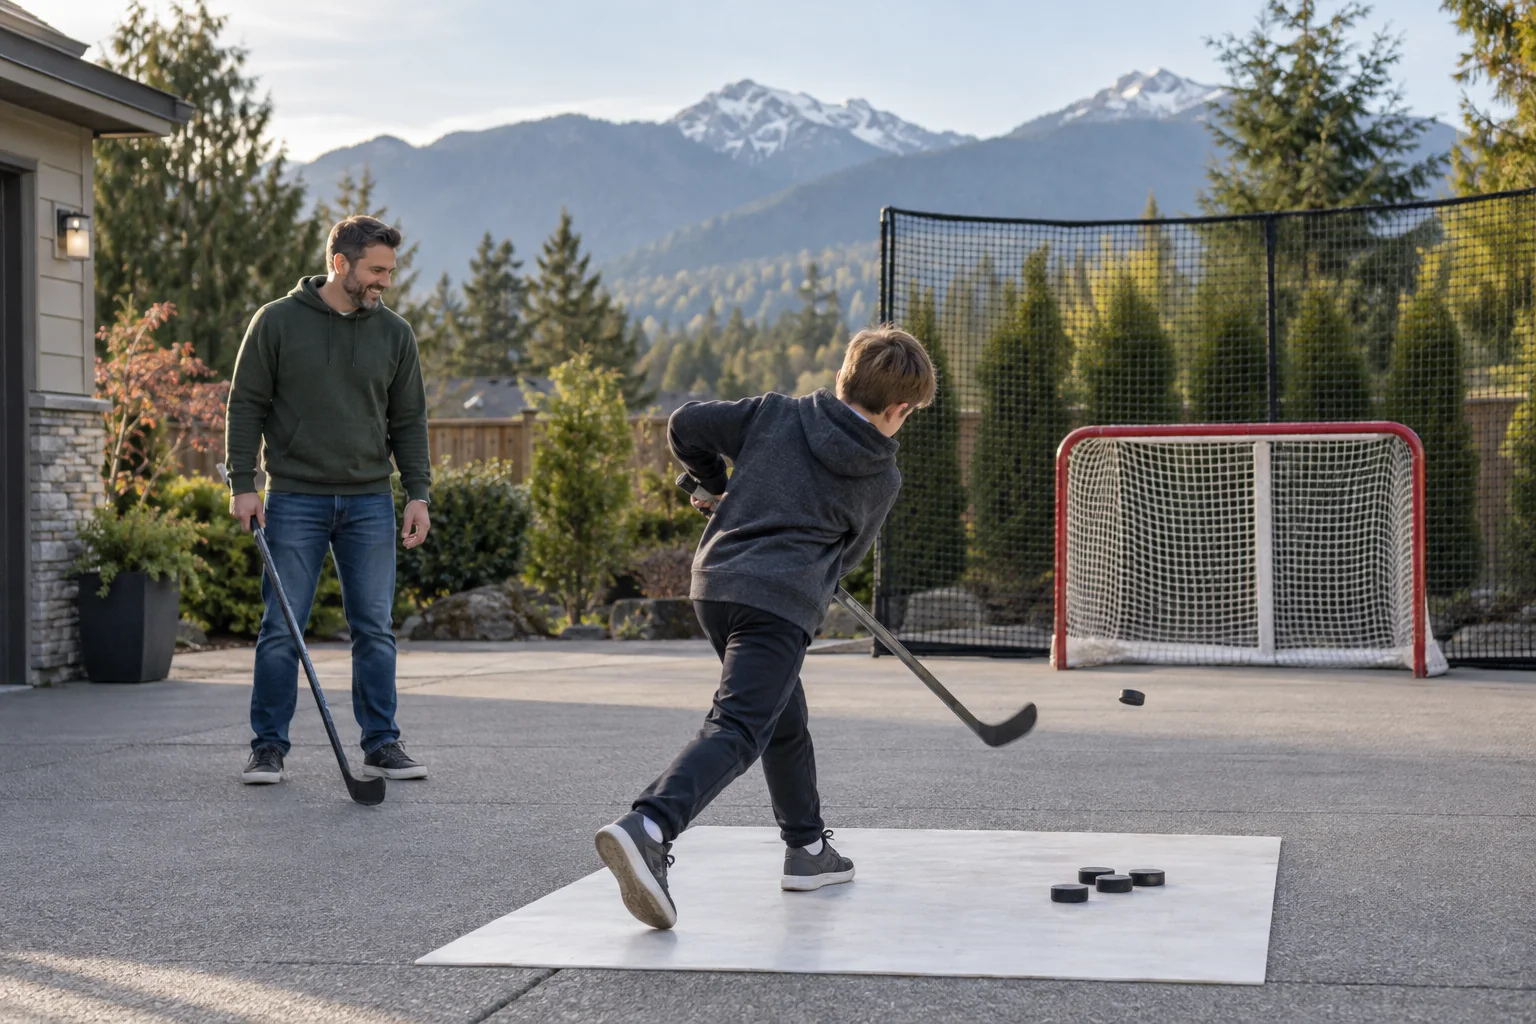
The starter version is a shooting pad, a safe target and a handful of pucks. It stores quickly and tells you whether the interest is real. The family version adds a proper net or tarp and enough containment that missed shots do not end the session early.
The premium version uses modular dryland tiles, a sturdy target and a rebounder for solo passing and one-timers. It costs more, takes more space and makes sense only when a child already enjoys practising. There is no medal for ordering the premium version first.
Consistency beats the heroic 300-shot Saturday
A short shooting routine three or four times a week is easier to repeat than one giant session followed by six days of avoiding the driveway. Pick one small goal—quick release, backhand control or hitting a corner—and stop while it is still fun.
Keep score, invent family challenges and let the child choose some of the games. Try five pucks at each corner, a parent-versus-kid accuracy round or a race to ten clean releases. If they do not enjoy it after a fair try, let them find a kind of movement they do enjoy. This is supposed to build a player, not a tiny employee with driveway hours.
A 15-minute routine that does not require a whistle
For more ideas that do not require a full backyard build, use our off-ice hockey training guide for kids. It keeps the focus on repeatable practice and fun rather than collecting equipment.
- Three minutes: easy puck touches and comfortable shots to warm up
- Four minutes: ten controlled forehand shots and ten backhand shots
- Four minutes: choose one corner and focus on repeatable accuracy
- Three minutes: use a rebounder or self-pass for catch-and-release shots
- One minute: the child chooses the final challenge and ends on a make
Run the cost through the hockey-parent filter
Higher-priced gear can be worthwhile when it protects the surroundings, survives regular use or makes solo practice genuinely easier. It is less useful when it duplicates something you already own or needs fifteen minutes of setup for a ten-minute session.
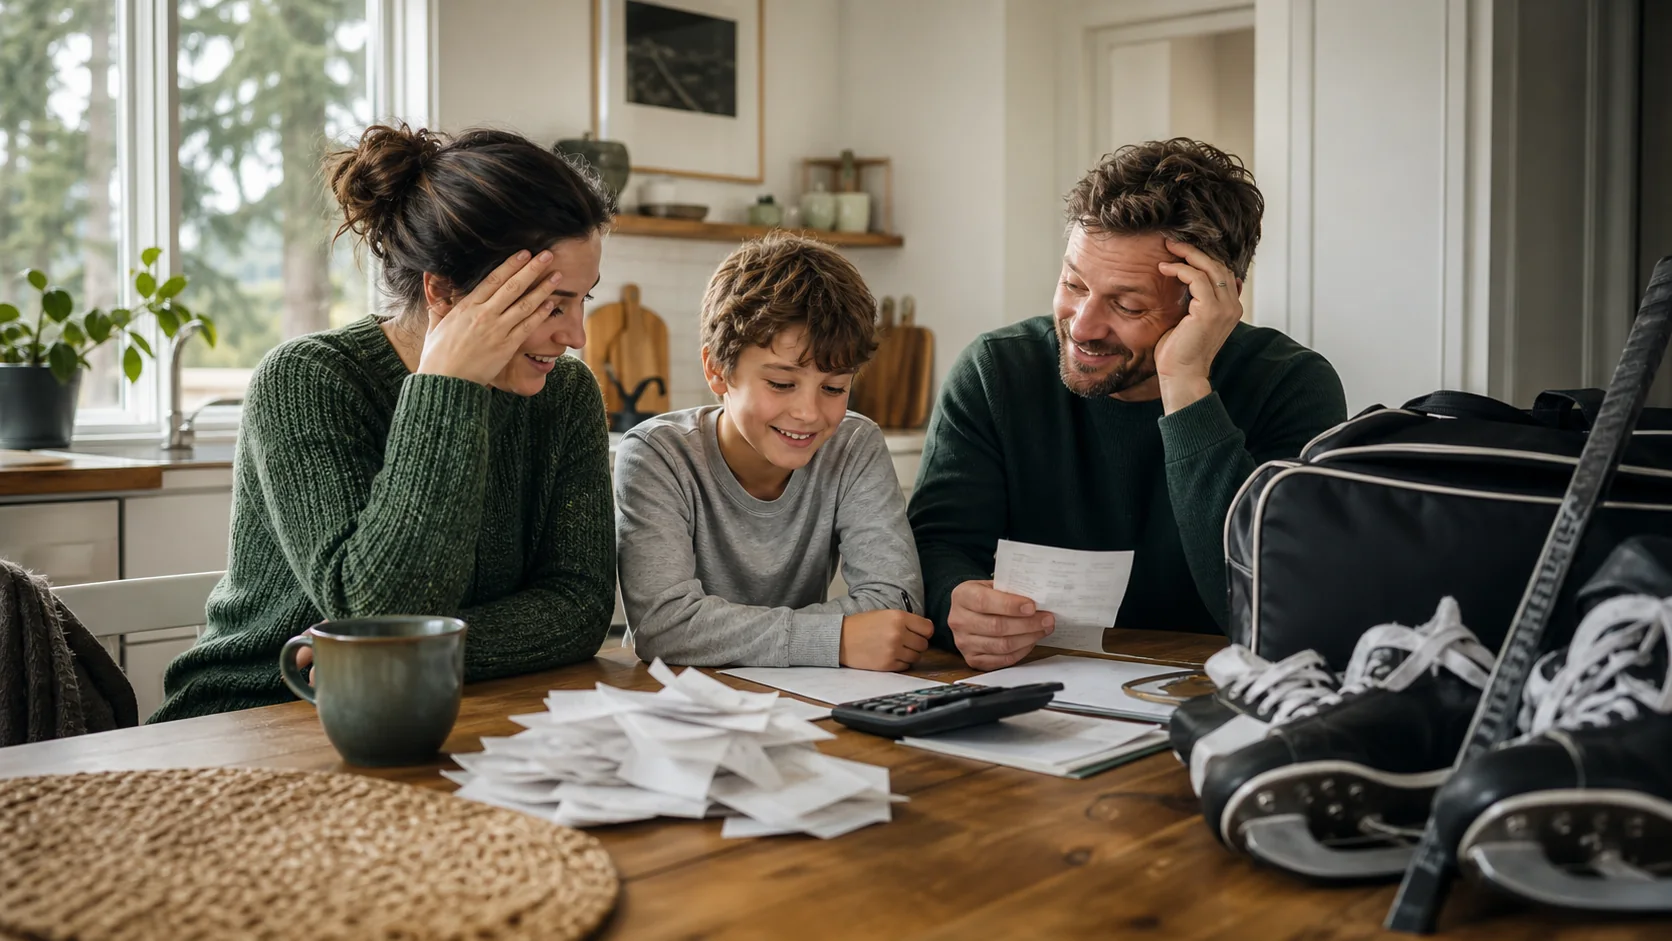
If the season budget is already getting stretched, compare the purchase with the full cost of youth hockey in Canada. A used net plus a new shooting pad may be a better family decision than an all-new premium station.
What can wait
- A rebounder, if your child is still happy firing simple wrist shots
- Modular flooring, until the portable pad is getting used consistently
- Multiple target systems, if one family accuracy game already keeps things fun
- A second net, unless your driveway has somehow become a neighbourhood league
- Any gadget that takes longer to set up than the practice itself
Fit the setup into the rest of hockey life
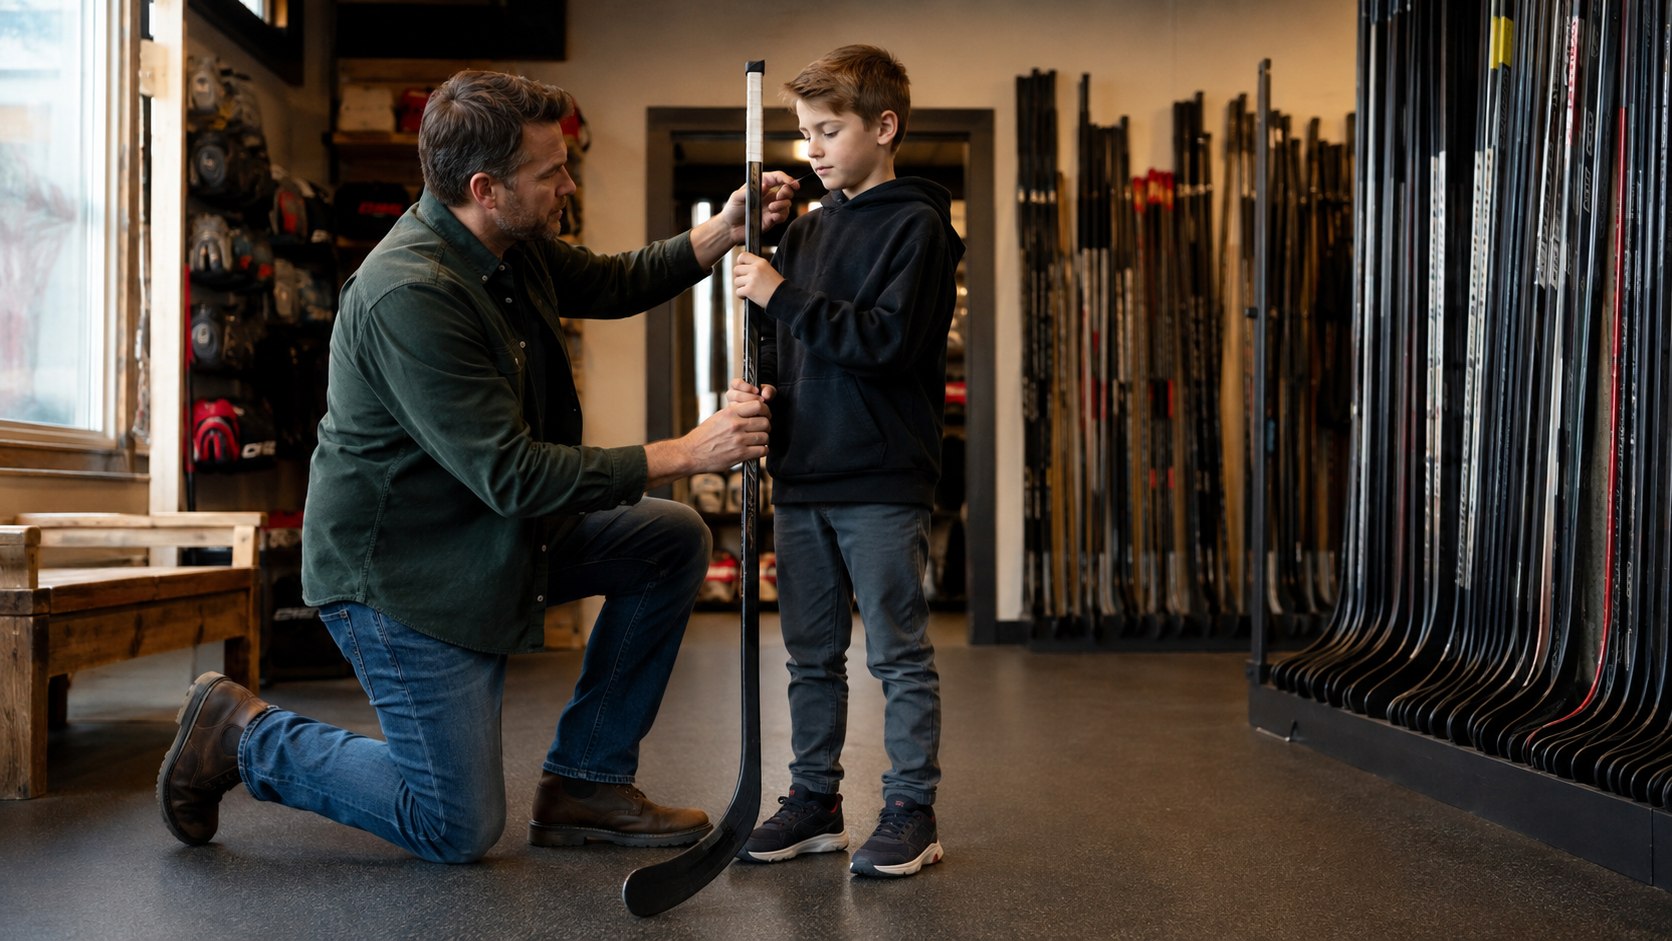
A home shooting station will not fix an unsuitable stick. Before buying training gear, check our parent guide to choosing a youth hockey stick for length, flex and handedness.
New to the whole equipment pile? The youth hockey equipment checklist for Canadian parents separates required gear from the extras that can wait.
Save or print
Before you buy the setup
- Measure the full shooting lane and the space behind the target
- Decide how missed pucks will be contained
- Check whether every piece can stay out or needs quick storage
- Confirm the surface is flat and suitable for the product
- Choose dryland tiles only for shoe-based training unless the maker explicitly says they are skateable
- Read current dimensions, included hardware, anchoring directions and return terms
- Start smaller if you are not yet sure the practice habit will last


 Product image from Amazon.ca · Paid link
 Product image from Amazon.ca · Paid link
 Product image from Amazon.ca · Paid link